To install, download the InputDirector Installation Package and run it to begin the installation process. Follow the prompts to install Input Director. You need to repeat this process on your other systems so that you have it installed on all computers that will be controlled or controlling systems with Input Director.
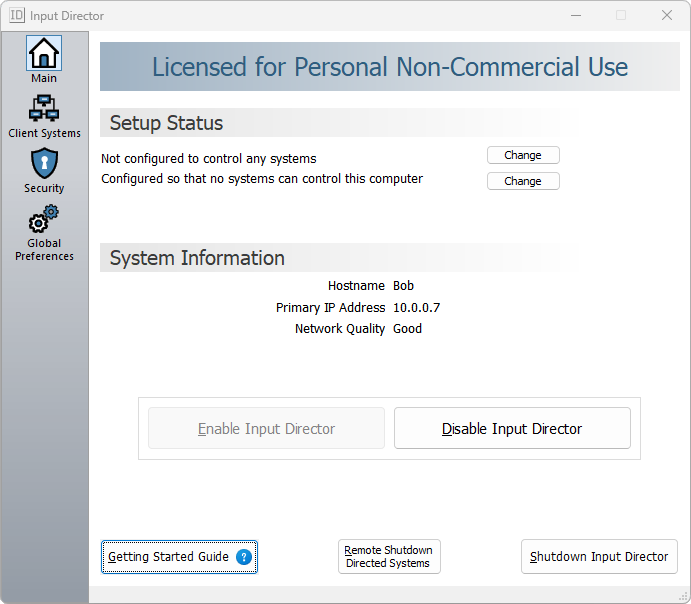
Start Input Director on all your systems. You should see the Input Director application window:
Using Input Director on the system that will act as the Director (that has the primary mouse/keyboard attached and will be used to control other Client systems), click the Client Systems icon in the left-hand side panel to display the Clients window:
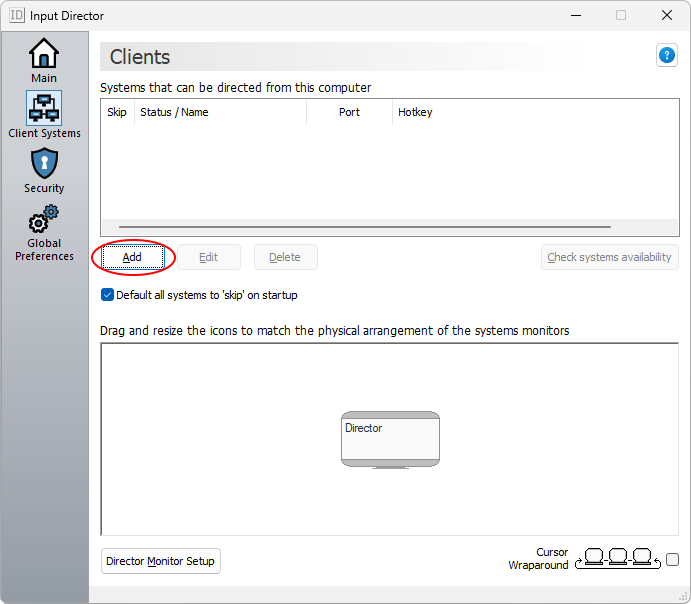
Click the Add button to open the System Configuration window:
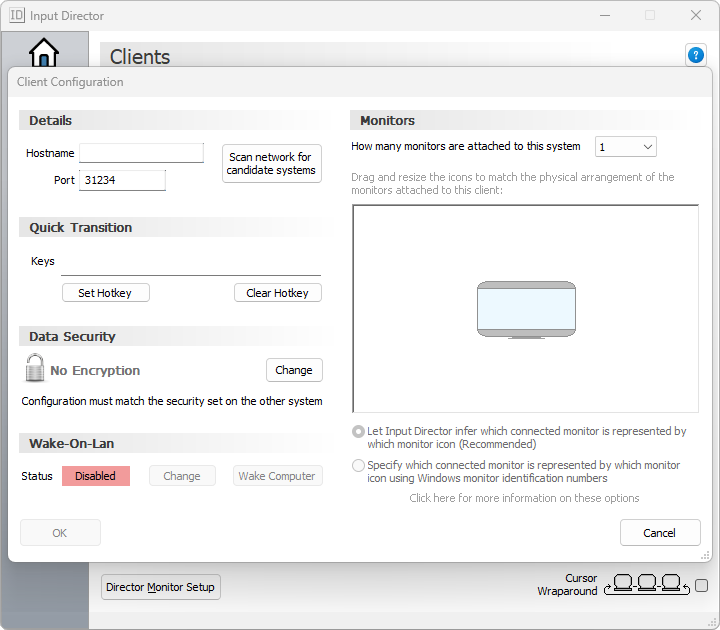
Make sure your other computers have Input Director running and then click the Scan network for candidate systems button:
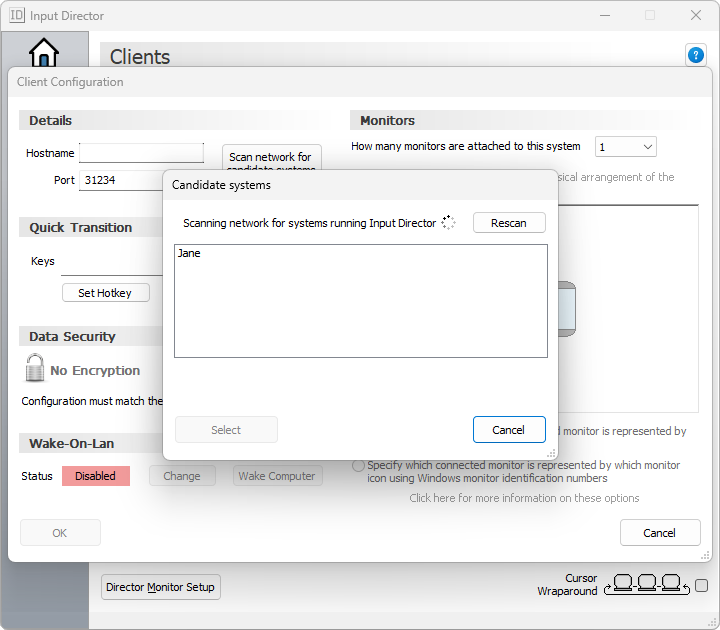
Choose the system to be controlled then click the Select button to close the window. Finally, click OK in the System Configuration window to add the client (If your other system doesn’t appear in the candidate list, check that Input Director is running on it. You can also add a client system manually.)
On the other system Input Director will pop-up message asking if it’s okay for it to be controlled:
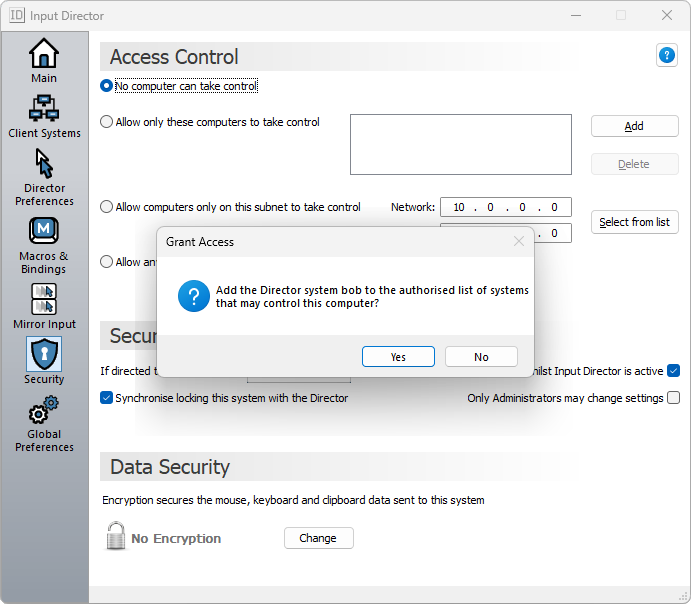
If this message doesn’t appear then you will need to setup access control on the Client system manually
Back on the Director system, the new client has been added:

✓ The green tick next to the Client name signifies that Input Director has successfully connected and can direct the client system.
The bottom half of this window reflects the physical arrangement of all the systems monitors. In the example screenshot above, both the Director system and Jane have 1 monitor each. Jane’s monitor is positioned to the right of the Director’s.
Change the arrangement to match your systems by:Input Director supports a rich variety of monitor arrangements, for example:

⇒ Now that you have Input Director running on your systems, continue to the Usage guide to learn how to use Input Director and tailor it to your needs.
To add a Client System, click the Client Systems icon on the left-hand side panel and then click the Add button:
Type the hostname (aka Computer name) or IP address of the other computer into the Hostname textbox and click Okay.

Once you've done, click "OK" to save your changes and close the window.
Back on the Client Systems tab, if the new Client System cannot be communicated with it will have a ✖ against it’s name. Have a look here in the FAQ for suggestions.
To change which Director systems are allowed to control a client, open Input Director on the Client system and click the Security icon in the left-hand side panel to display the Access Control settings:
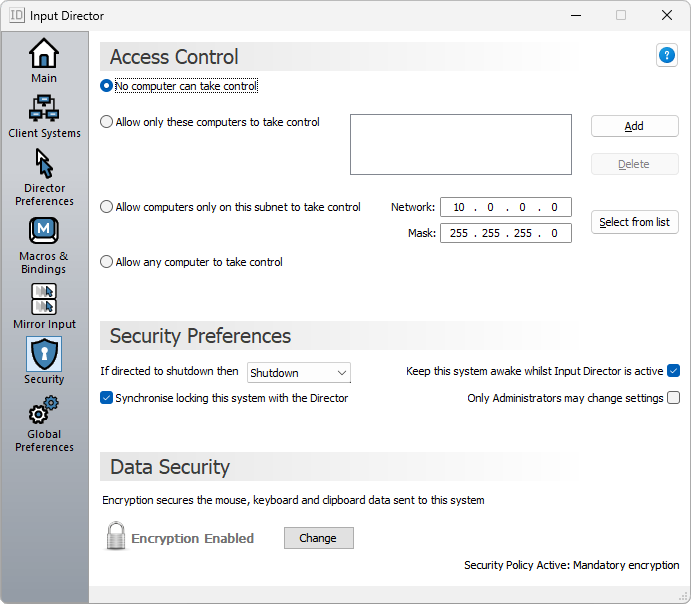
Access control can be configured either by:
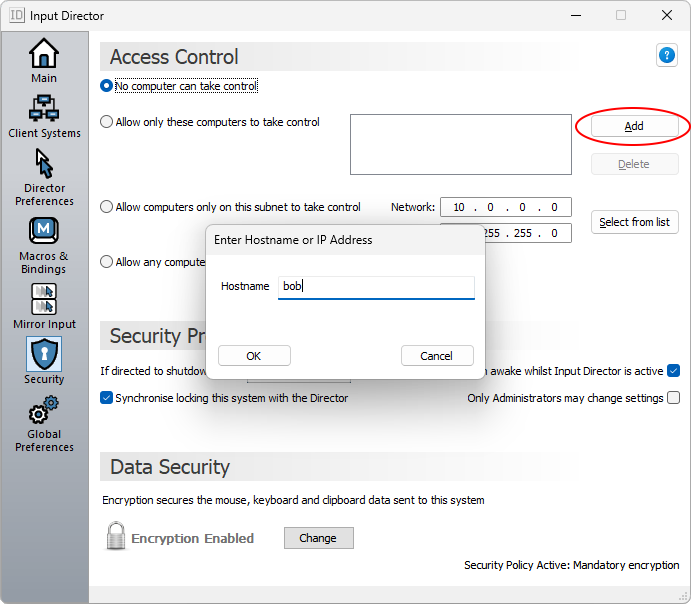
The most popular option is to grant specific computers access. To do so, click the click the Add button and enter the Director systems hostname (If you're unsure how to look up the hostname, instructions can be found in the faq located here) in the dialog box that pops up:
⇒ Once Input Director is setup, continue to the Usage guide to learn how to use Input Director and tailor it to your needs.
